Practice & Patchwork

Collage Supplies

“You have to play a long time to be able to play like yourself.” – Miles Davis

Miles Davis was a musician, but his quote can be applied to any creative endeavor. It takes a while to get the basics right before a real sense of style and individuality comes through.

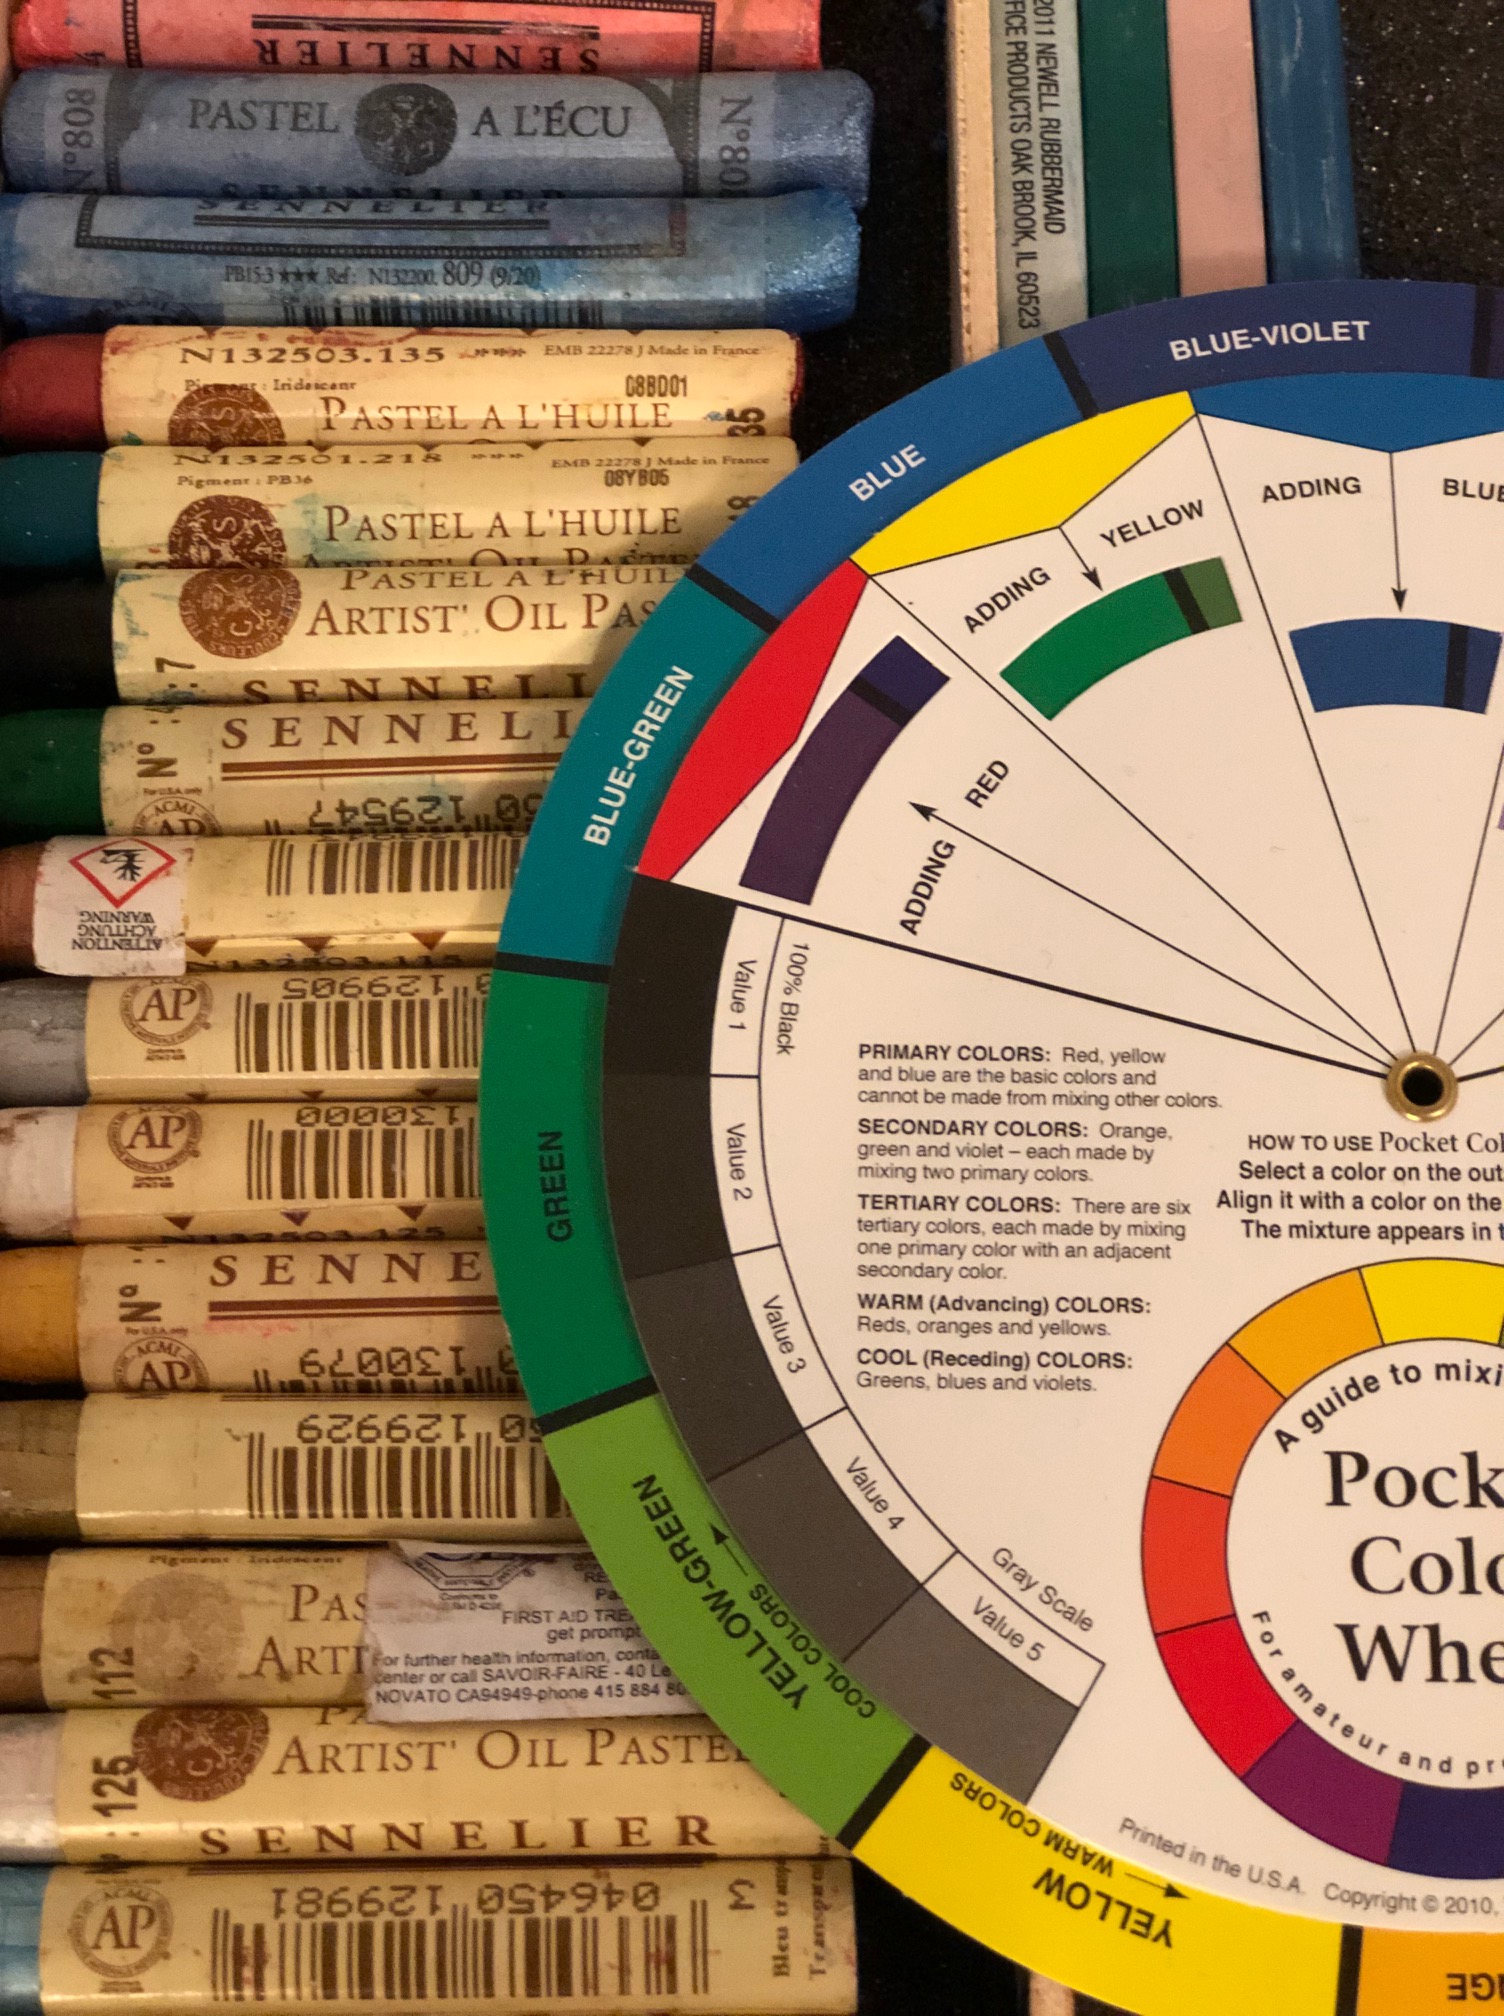
I’ve been a “practicing” artist coming up on three years in July. That seems like a long time, but I’ve needed every one of those years to evolve, first looking to others for inspiration and learning different techniques, tools and processes, and then using that knowledge to communicate my own message.

When I started writing Pine Curtain Stories, I identified a story I wanted to tell. The more I write it, the more I want to refine my art to support those stories and say exactly what I want to with the images and not just with the words. So, I’ve started taking more time with my art, both physical (time in the studio) and mental (time with my thoughts and intentions.) It makes for a longer road, but rather than being disheartening, it’s actually very exciting.

Earlier this week, I dug into my supply box and found all sorts of things I used in the beginning of this journey and hadn’t found a way to incorporate lately. I had a great time with it all, and I’m so pleased that nothing has gone to waste.

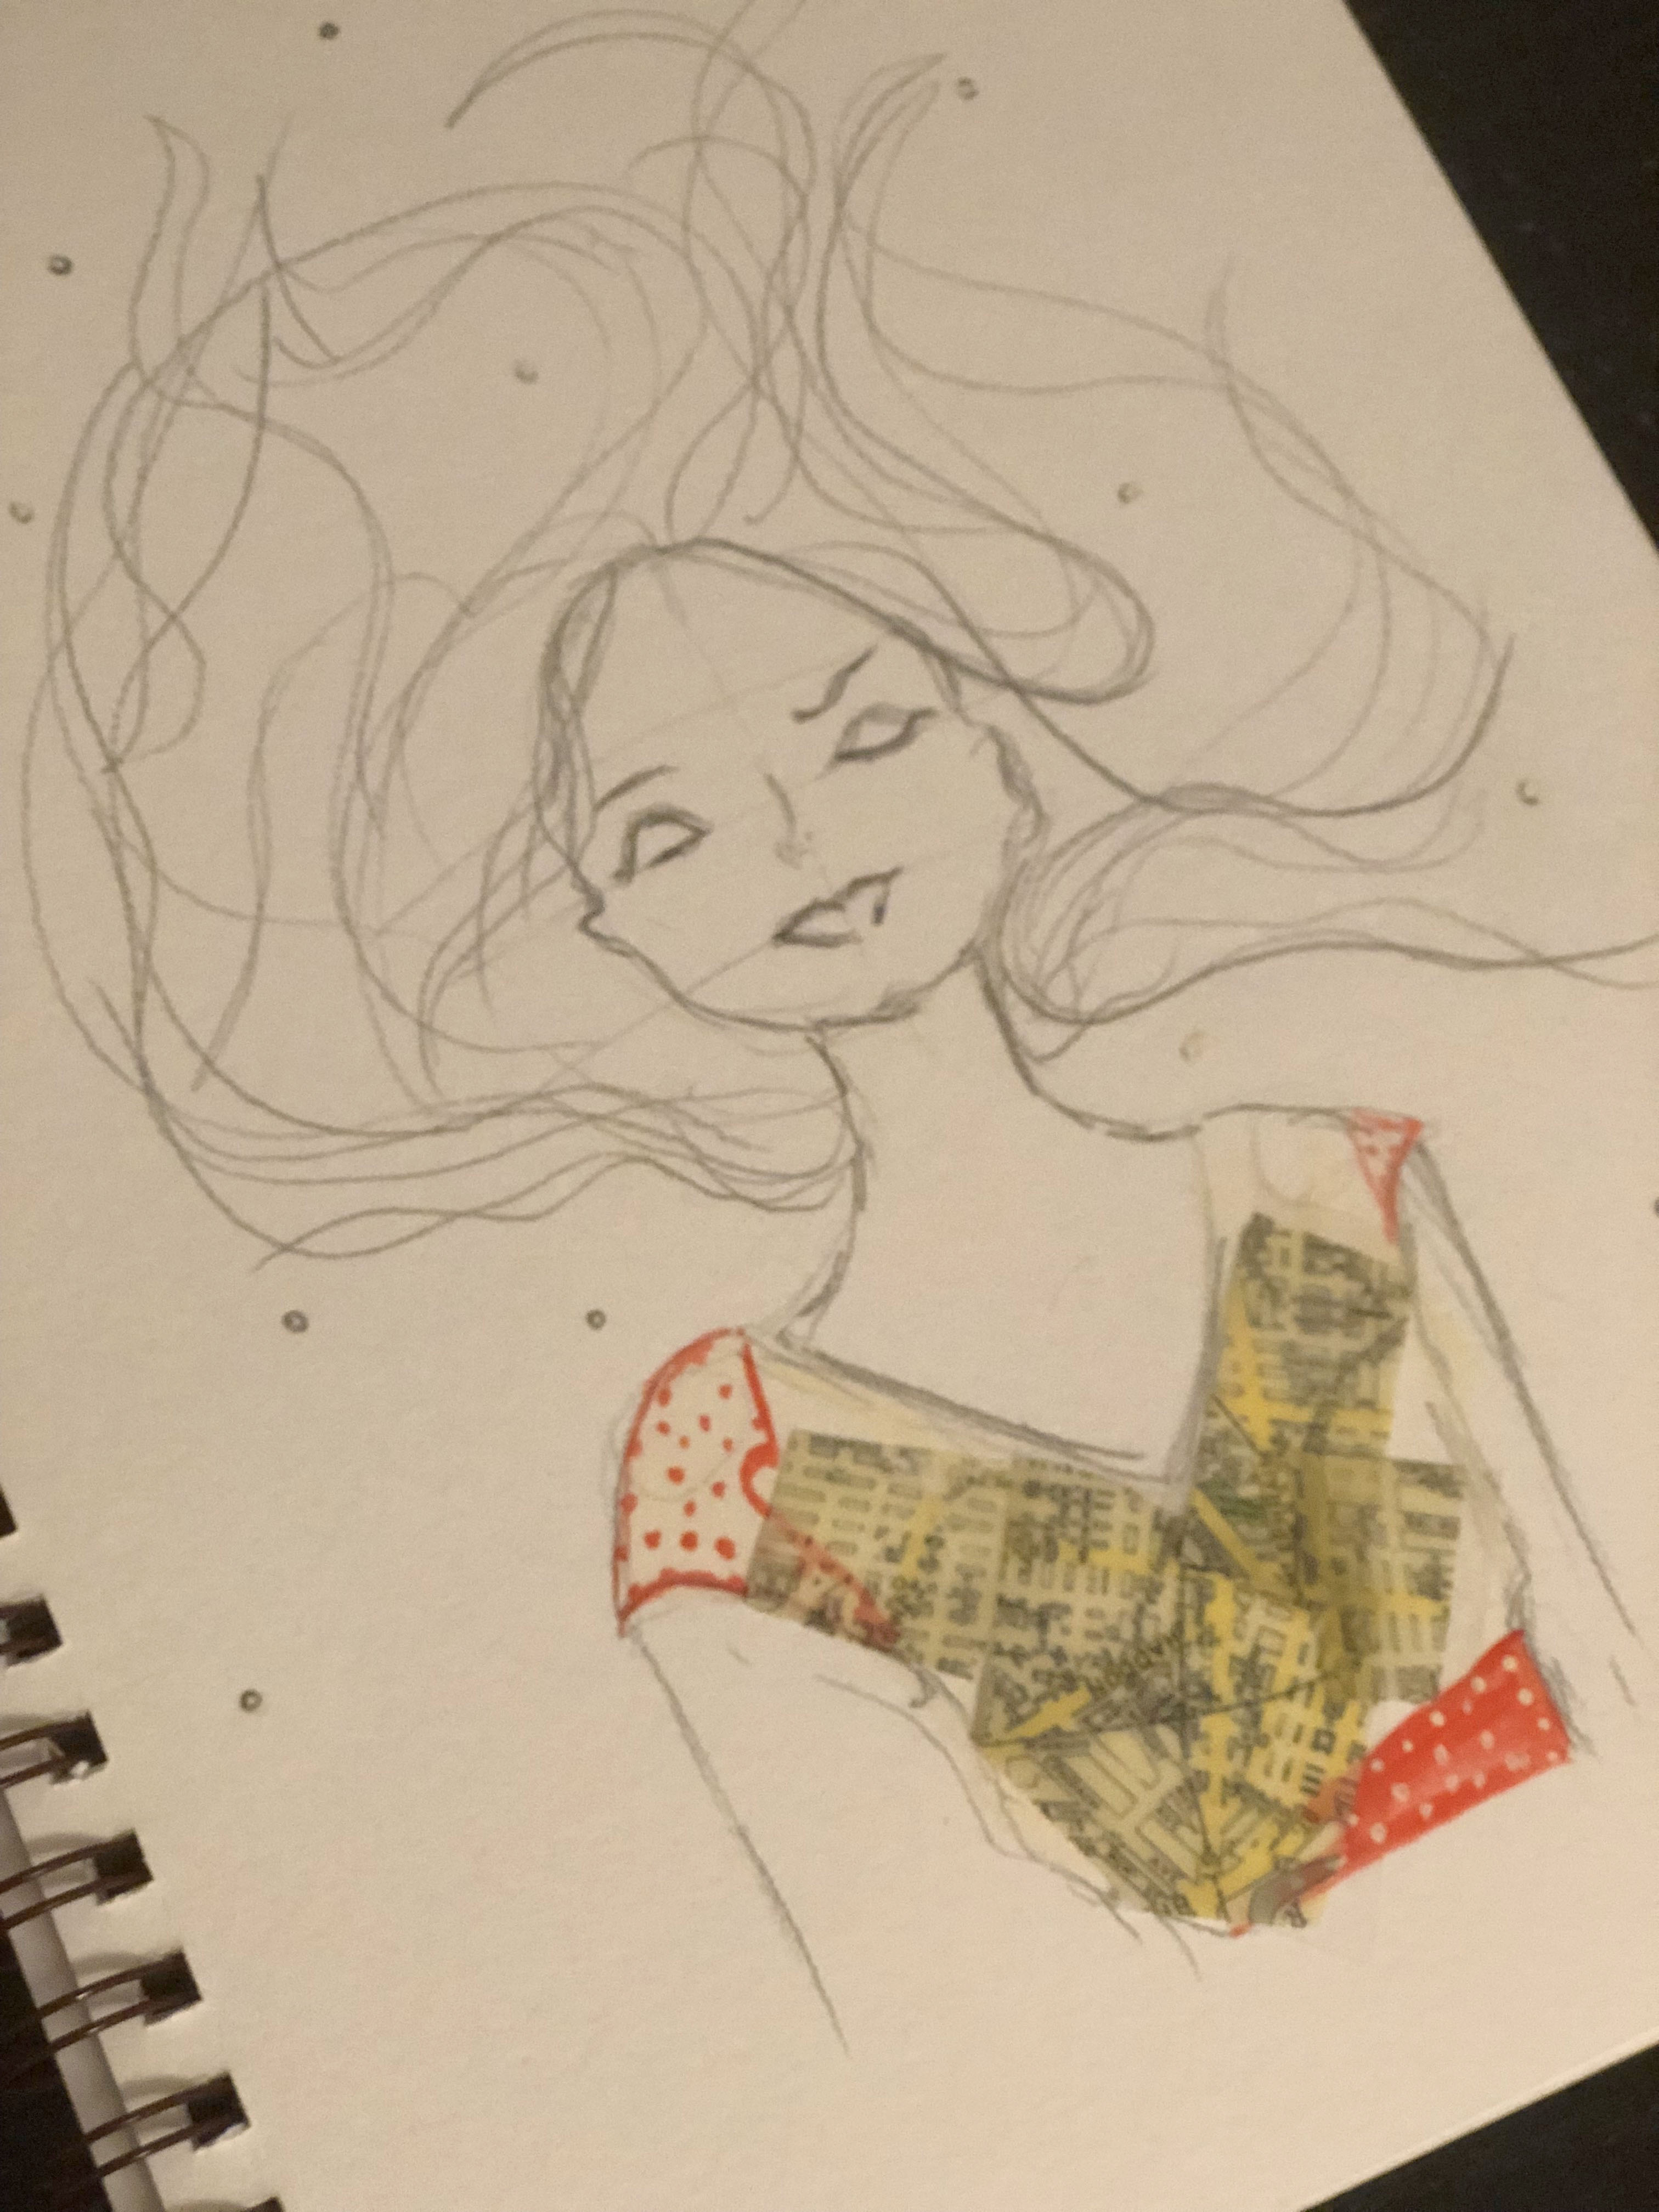
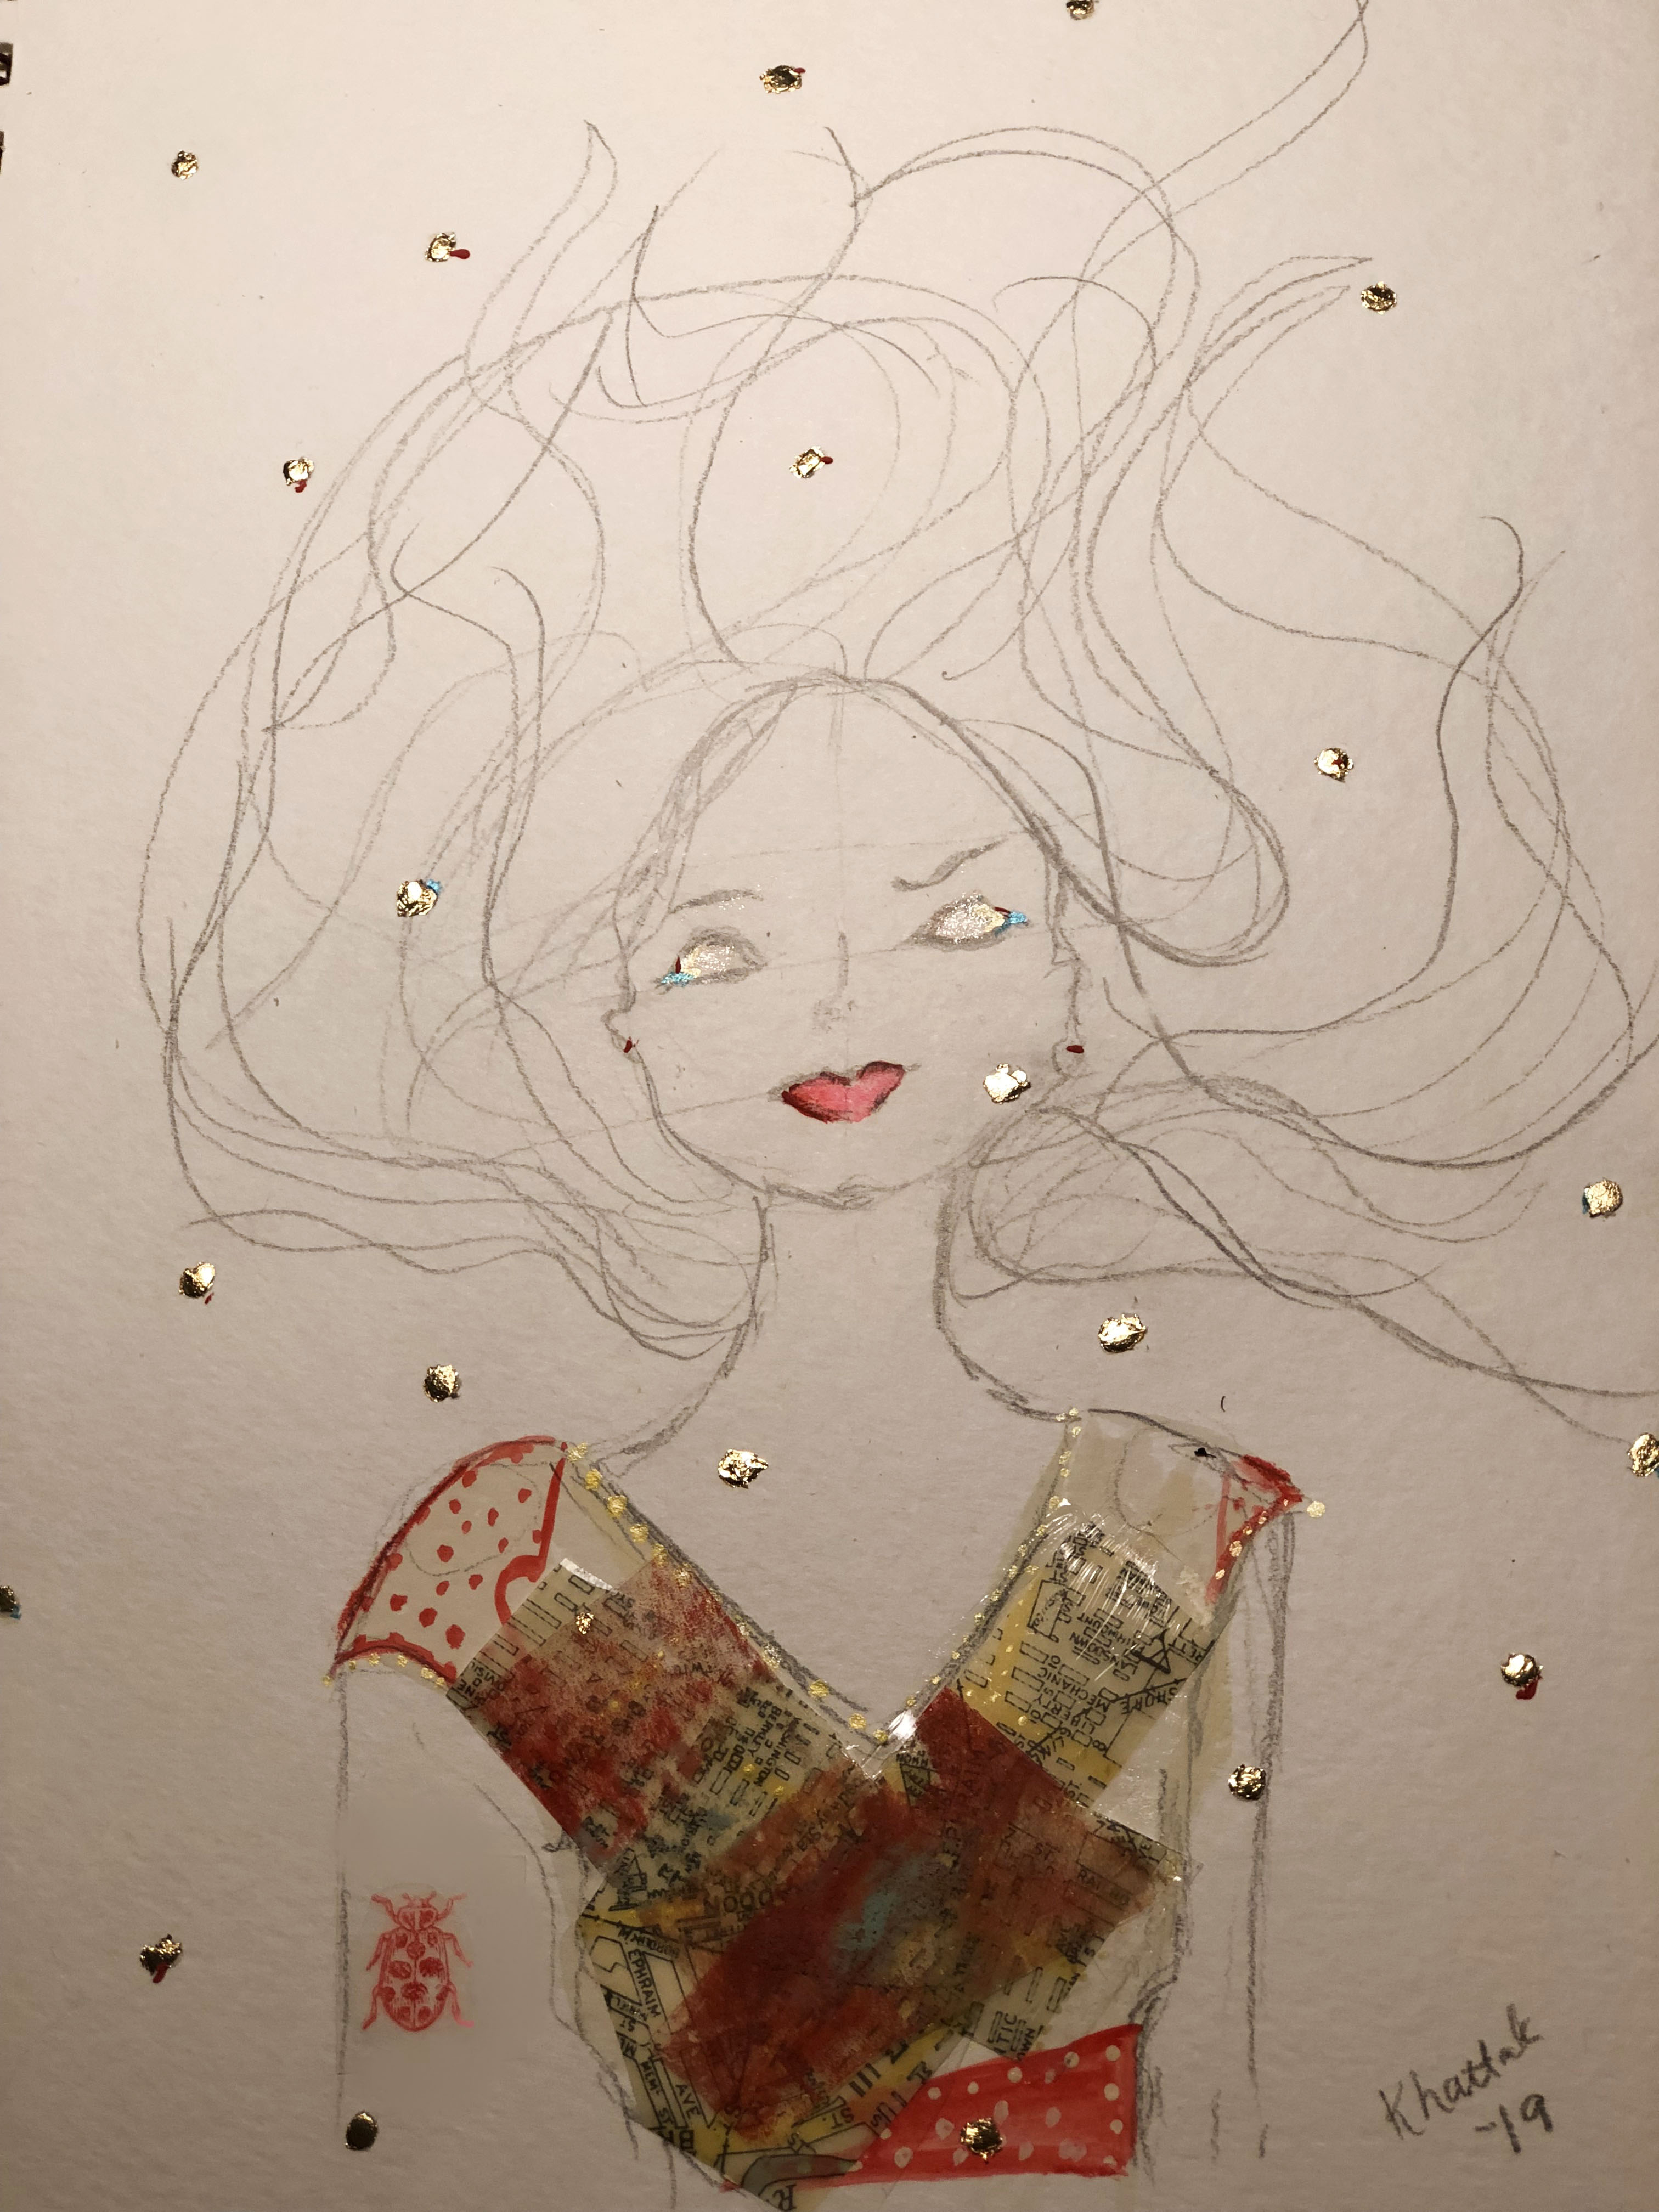
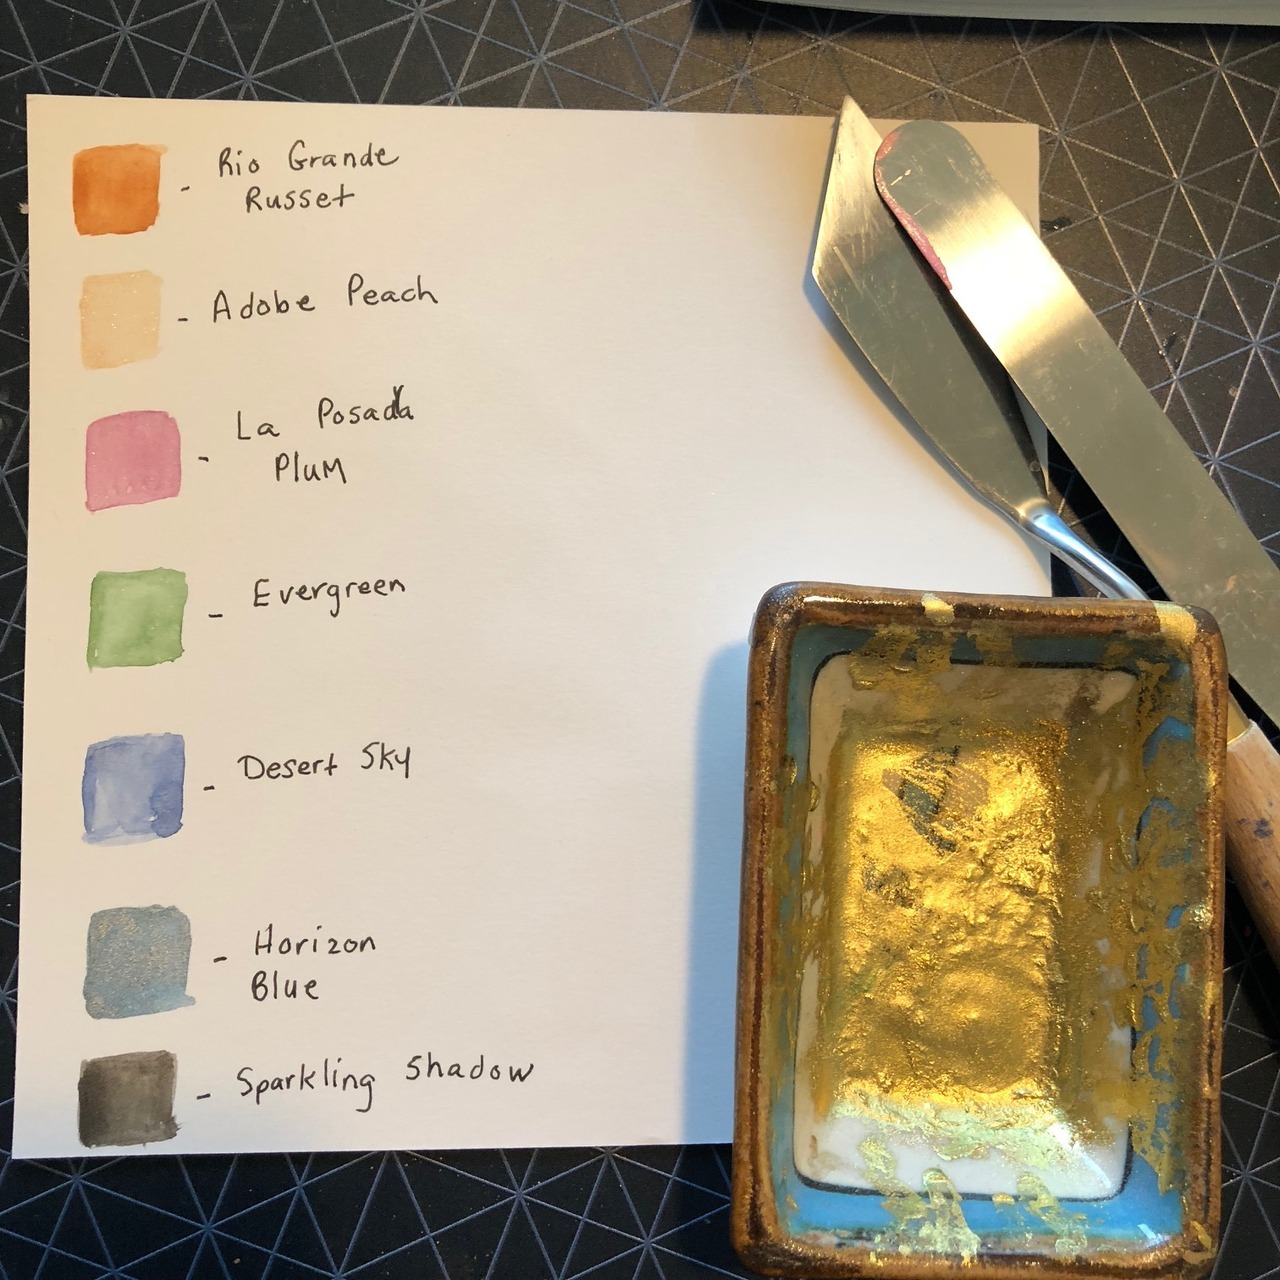
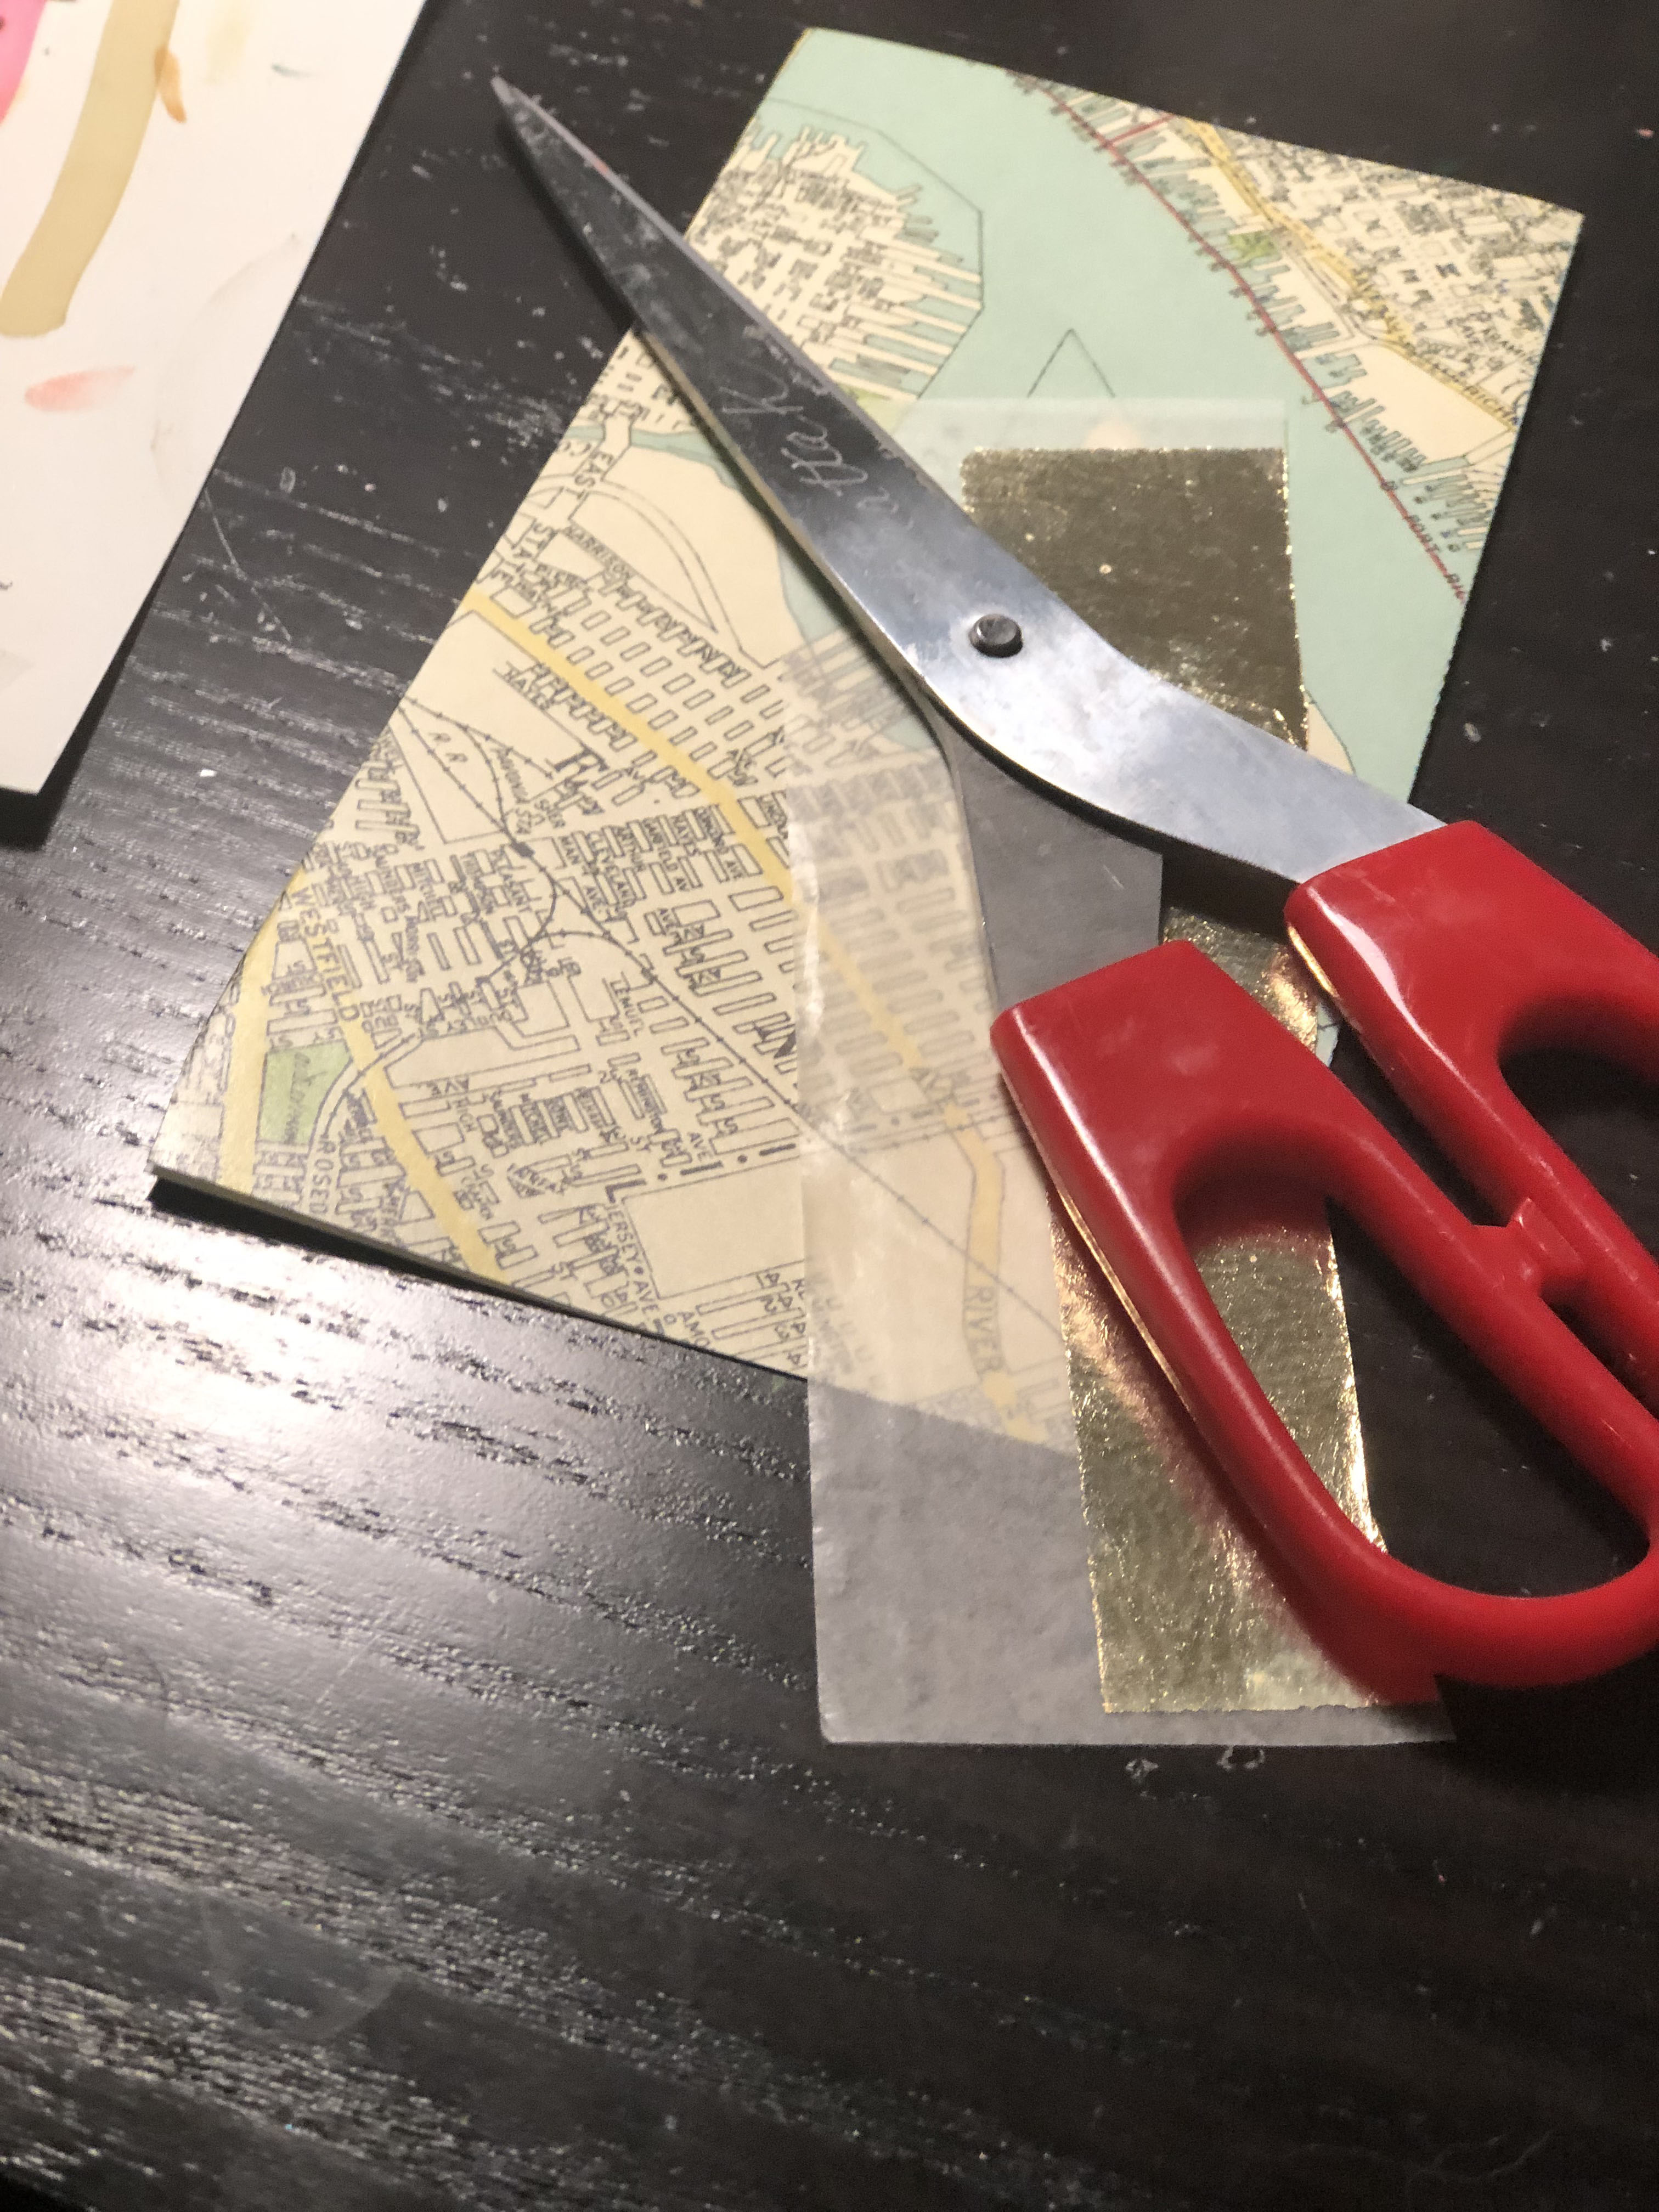
I’m incorporating more collage into my work, and I’m happy with the results. I’ve used packing tape collages, tape transfer methods and plain-old cut paper and glue/gloss gel methods to achieve the look I want. As a bonus, it’s also motivated me to find new resources, so on Friday I took myself on a field trip to Paper Arts and disappeared into its wonderful stacks for a half-hour or so.

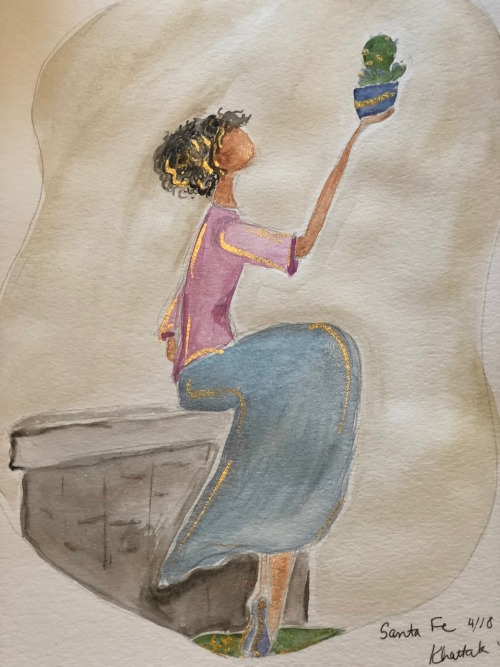
Here’s my first “patchwork” piece. I’m happy with the way it turned out, and look forward to creating more.

Travel Art Archives

In the spirit of consolidating and simplifying my digital platforms, I’ve moved my “Have Paintbrush Will Travel” content to this site. Click here to see past posts, and stay tuned for new travel content as our travel season picks up again. We do most of our traveling from April – December, to coincide with James’ work travel schedule and tag on sightseeing to the places he goes. On the 2019 agenda so far: Houston, New York City, Palm Springs (Fingers Crossed!) and Washington, DC.

Demo: Brea Reese Watercolor Cream

Trying some fun new supplies this week! They’re metallic Brea Reese Watercolor Creams, a water soluble medium similar to oil pastels. I found them at Target here in Dallas.

The first swatch is an opaque square that I colored in and then painted over. The middle square is an opaque frame that I painted over and used the remaining color on my brush to fill in the middle. The third square is just color that my brush picked up from the other swatches, for a watercolor effect.

The figure was painted by loading color onto a wet brush directly from the stick.

These are pretty cool and while there are higher end items that are similar (Caran D’ache Neocolor II) these are the first metallic options I’ve seen. This was just one of several new items I saw in Target’s art supply aisle. I love that cool supplies like these are becoming more accessible in price and location, and that the quality is good! The more people are able to make art, the more art we will have in the world!

New Mexico Palette

Custom Paint Palette: Shades of Santa Fe

I recently began making my own paint with gouache binder medium and pigment powders. It’s very rewarding to see the medium and powder combine into the final result, and to be able to personalize the color exactly how I want for any given project.

The ability to make my own custom paint palette inspired me to create specific colors for the places I visit. The mixing supplies are too cumbersome to take on the road with me, so I pack lightweight tools in my artist travel kit, then rely on memory and the sketches I make on the go to recreate the colors once I am back in my studio.

Our recent road trip through West Texas and New Mexico focused mainly on Santa Fe with a day trip up to Taos and the Rio Grande Gorge.  The landscape changed constantly, from the plains and desert conditions of the Texas Panhandle into Santa Fe, to the mountains, evergreen and birch trees as we headed north toward Taos. Just a few miles from Taos, at the gorge, it was flat again. Coming from Dallas where you’ll drive a similar distance and see mostly concrete, this diverse scenery was a special treat to experience.

This inspired me to create the colors shown above: Rio Grande Russet, Adobe Peach, La Posada Plum, Evergreen, Desert Sky, Horizon Blue and Sparkling Shadow.  These colors are made from Earth Pigments and Pearl-Ex, combined with gouache medium. For the painting below, I embellished with gold drawing ink and used an off-the-shelf warm gray watercolor for the background.

Travel Palette, Santa Fe, NM

In my previous post, I showed a Peerless watercolor palette as part of my artist travel bag.

While it’s lightweight and versatile in its packaged form, I decided to lighten my load even more and use it to customize a palette specifically for the trip I am planning through West Texas and New Mexico.

Santa Fe will be my final destination, so that’s where I imagine I’ll have the most time to do some quick sketches inspired by what I see or have seen along the way.

With that in mind, I clipped these colors from the Peerless palette: Japonica Scarlet; Light Green; Brilliant Yellow; Sky Blue and Pearl Grey. While it’s not a comprehensive set, I feel it gets me off to a great start capturing the natural beauty of the southwest, and I can also blend most of the colors to make new ones. (The red and blue to capture a violet sunset, or the yellow, red and blue for adobe structures, sandy hues and many skin tones, for example.)

I used a little glue to attach them to watercolor paper stiff enough to hold up to the substantial paint squares and test swatches. This is less than one-third of a Peerless page, so not only do I have plenty of color to last a few days on the road, I have many more options to choose from or use again for the next trip!

I’ll slide this paper palette into a protective cellophane mailing sheath before packing it, to avoid damage.

Santa Fe Artist Kit

Part of the fun of traveling is putting together my artist travel kit. It differs slightly for each destination, depending on space, weather and the trip’s planned activities.

For this particular adventure, we are driving Southwest, so I made sure to have many desert-inspired colors to choose from, plus some metallics to accent. I didn’t want to include pastels or anything that might easily melt. Watercolor-infused paper and water-soluble pencils keep things versatile and compact.

Even though we will have room in the car, I travel pretty light. I keep my art supplies simple while I’m on the trip and make quick sketches or color studies to draw more involved pieces from when I’m back home. This allows me to balance making art with the fun of immersing myself in a new city. I also make a point to visit art supply stores when we travel (independent art supply stores if possible!) so if there’s something I forget or feel I must have, I have the option of purchasing it on the trip, patronizing a local business, and having an artsy souvenir.

What’s in the Bag:

Here are the basics of my next artist travel kit: (Left to Right) Strathmore 5X7 Visual Journal; Peerless Watercolor Booklet; Pentel Aquash water brush pen; 3B and 6B Staedtler Mars Lumograph charcoal pencils; HB Koh-I-Noor Toison; Silver and Gold Caran D’ache Supracolor II pencils. I pack my supplies in a Found Leather Goods portfolio bag.